Hobbyking Minimoa 2M Sailplane Review
Part 1

Introduction
The Minimoa sailplane, build in the mid 30's, was one of the first sailplanes build by Schempp-Hirth company, a most famous and largest glider manufacturer in Germany and in the world.
First flown in 1935, the Minimoa with its amazing silhouette was probably one of the most famous gliders of it's time, It was one of the sailplanes symbolizes the German soaring. Because of it's technological breakthrough it was the glider which helped many pilots quit the slope flying and explore the thermal or even the wave soaring. It was a big step from experimental soaring to pure sport flying. It was the first sailplane to carry water ballast, in a tank behind the cockpit.
In the late 30's (1938) the Minimoa established the world altitude record of 22,000 foot during a flight in a cumulonimbus cloud.
Richard du Pont and Chet Decker flew Minimoas to win the U.S. Championships in 1937 and 1939.
The HobbyKing Minimoa RC glider is 1/8.5 scale of the full-sized sailplane, but of course, an electric motor was added for take off assistance

Link to the product:

Kit Contents
The Hobbyking Minimoa was very well packed, in two cardboard boxes, one inside the other. They use lot of adhesive tape, so nothing could have moved or damage while being on the way. Everything arrived in perfect condition with no damage.


In the box
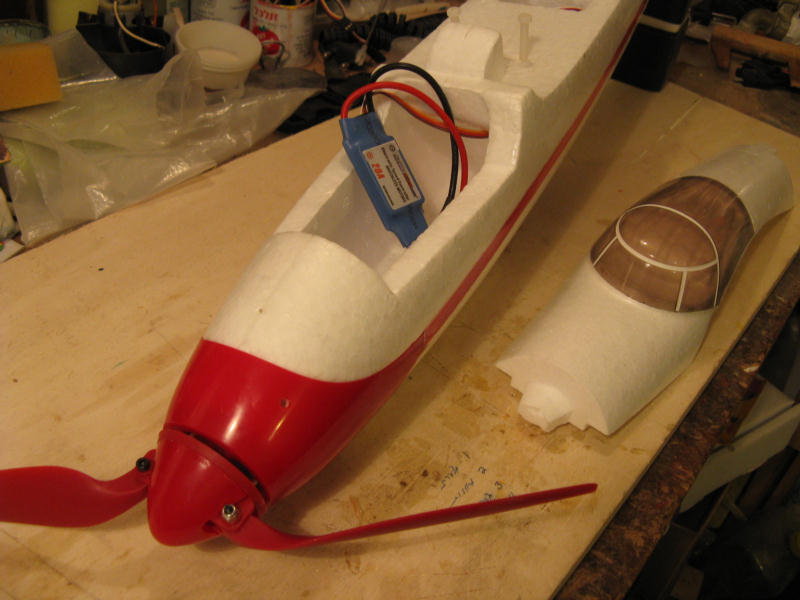
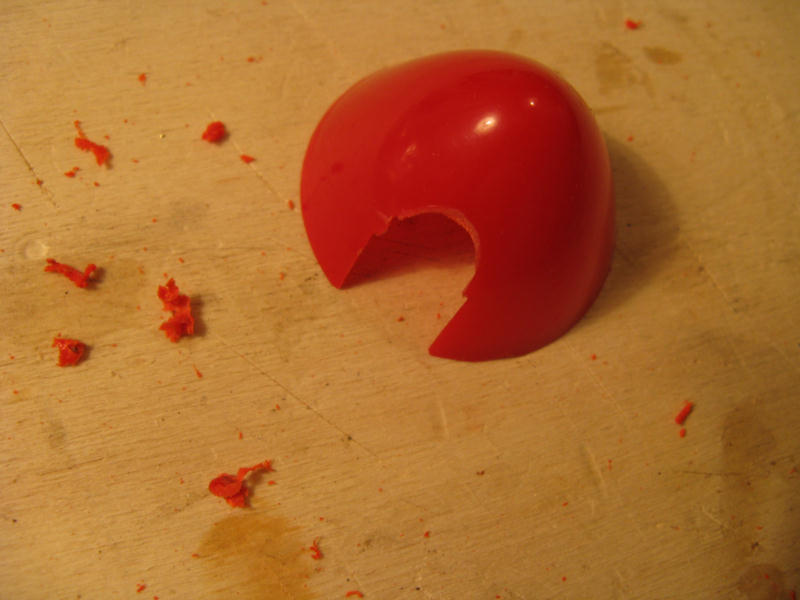
Fuselage with installed motor 1200Kv, 20A ESC, spinner and folding prop', two 9gr servos, landing wheel, pushrods
.
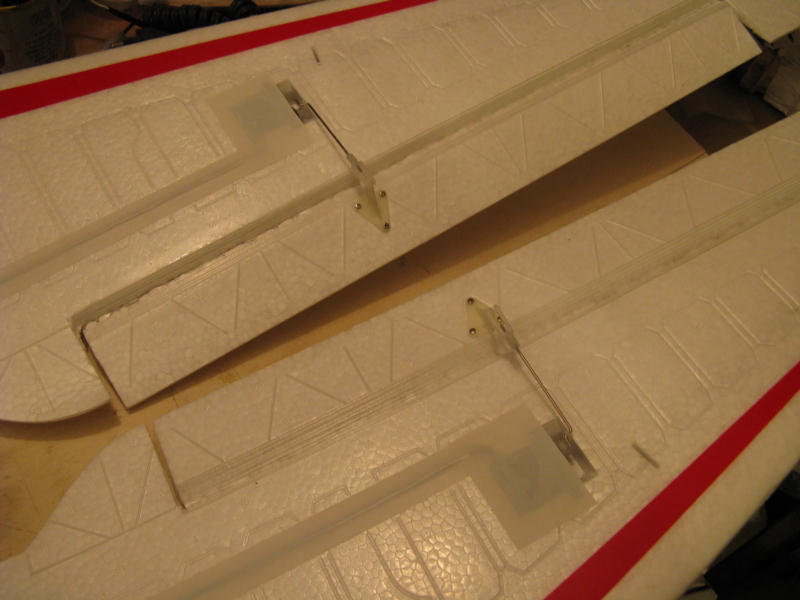
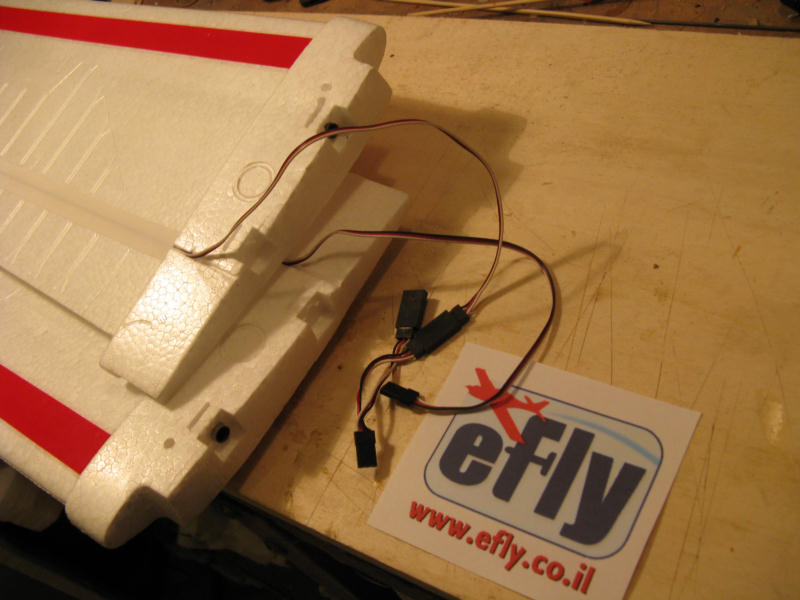
two wings with aileron servos, pushrod and aileron horn installed
Canopy
Elevator with installed horn
Rudder with installed horn


Plastic bag contain
Four nylon screws - 4M - 2 for the elevator, 2 for the wings Phillips head screw driver
a foam double sided tape
spare props
Y-cable for aileron servos
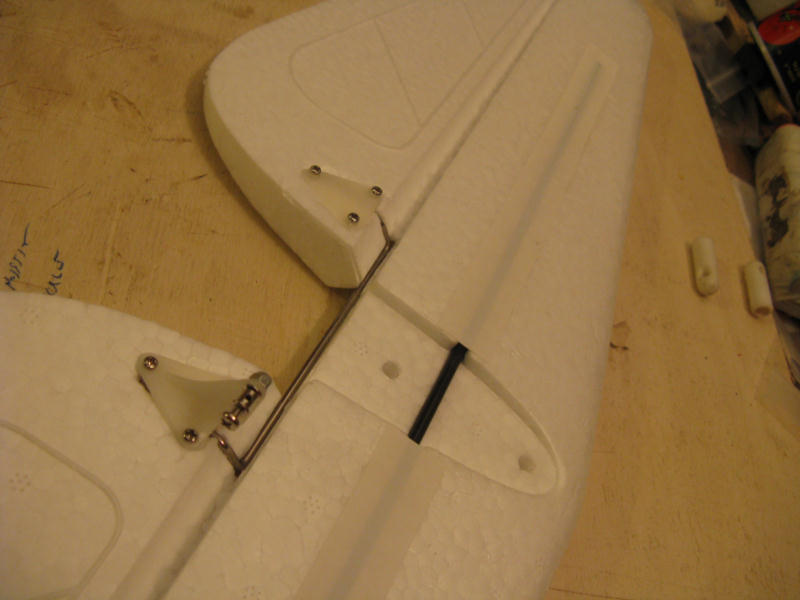
Aluminum made wing joiner
wing bracket
small Allen key with 2 x grub screws
A tube of unknown adhesive

Required for Completion
Battery - 3S 11.1V 20C (recommended - 2200Mah size)
Receiver – 4 CH (or more) receiver
No manual or instructions of any kind were in the box.
Specification
Wing span: 2000mm/78.7in
Length: 980mm/38.6in
Weight: 923g/ 32.6oz include battery & receiver - ready for flight

Assembly
The Hobbyking Minmoa requires very little time to make it ready for flying
Tail
You should install the elevator with 2 nylon screws (don’t forget to connect the pushrod to the elevator horn first) and than to glue the rudder hinges to the rear part of the fuselage (again, do not forget to connect the pushrod to the rudder horn first)
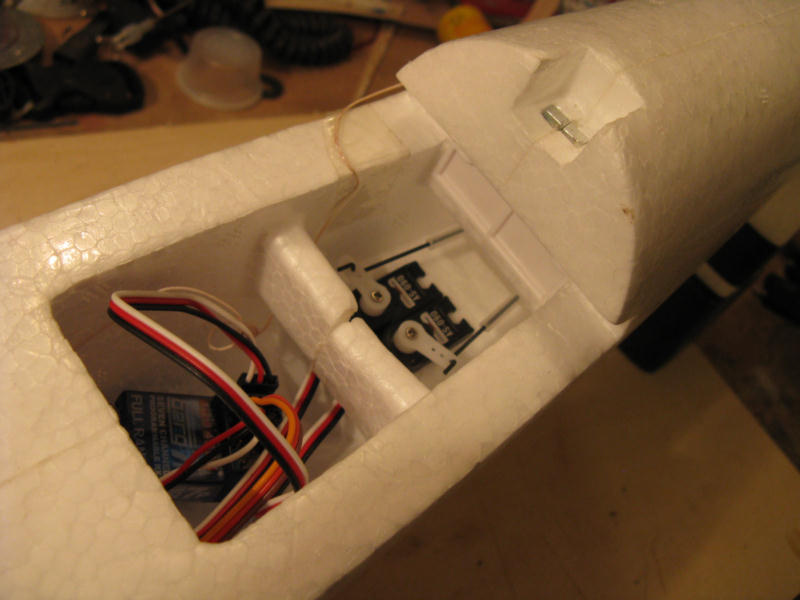
Next you have to install your receiver and battery in the fuselage and connect it to elevator and rudder servos.


Next thing is to balance the glider to the proper CoG.
As I mentioned before, there is no manual. After short search in the web I found out that 54 mm from the leading edge is a good place to start with. You have to put the battery just behind the motor and to add lead (if necessary, depend on size and weight of Battery), in order to balance the model.
In order to minimize the motor warm up, I drilled in the spinner's hub 6 holes to allow air to cool the motor.


End of part 1
.


 ציטוט ההודעה בתגובה
 ציטוט ההודעה בתגובה


 :
: 
 ) היום, מהירות לא עושה לי את זה. דווקא לתפוס טרמיקות ביום חלש יותר מענין.
